0 Comments
Pour all base ingredients into a large pot. Stir constantly over medium heat until a ball forms by pulling away from the sides. You can now use the additives, knead them into the play dough until blended (1-2 minutes). If using essential oils start with 2-3 drops. Remember that essential oils are concentrated and are meant to be added to a base.
The calming scent and the kneading motion will help your child unwind before bed, or on a stressful day.
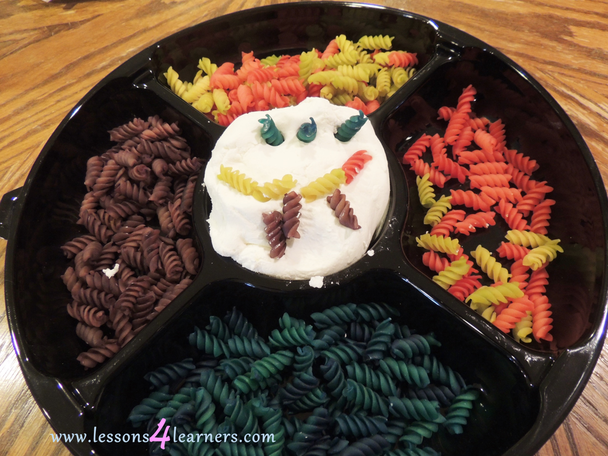
Use Your Noodle Playdough Play
To dye the pasta:
For the activity:
Basic Dough Recipe
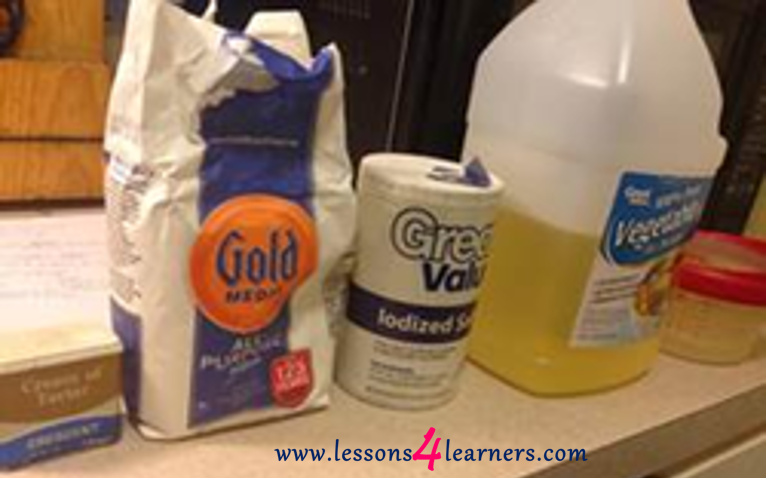
**Take precautions when preparing this recipe as it involves the use of hot water** 2 cups of flour 2 Tbsp of oil (vegetable, olive or coconut is fine) ½ cup of salt 2 Tbsp cream of tartar 1 ½ cups boiling water Mix the dry ingredients well. Slowly add the oil and boiling water and mix. Allow the mixture to cool down and knead until it achieves the desired consistency.
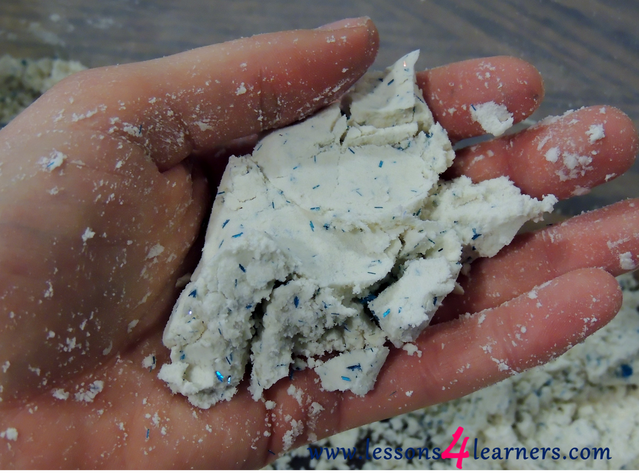
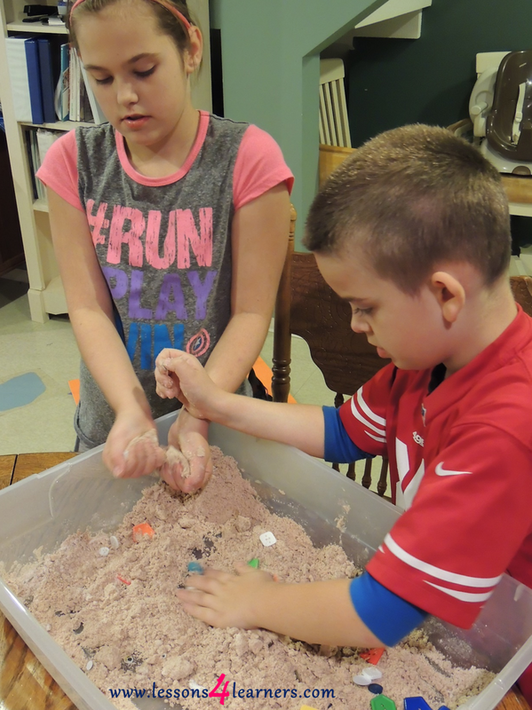
Snow Dough (sensory bin)
Prepare for activity by making the dough. Combine 8 cups flour with 1 cup of baby oil. Add a few tablespoons of glitter and mix. Put your snow dough in the large bin and present it to the child in an appropriate area. **Monitor child as they play to prevent them from eating any of the dough.
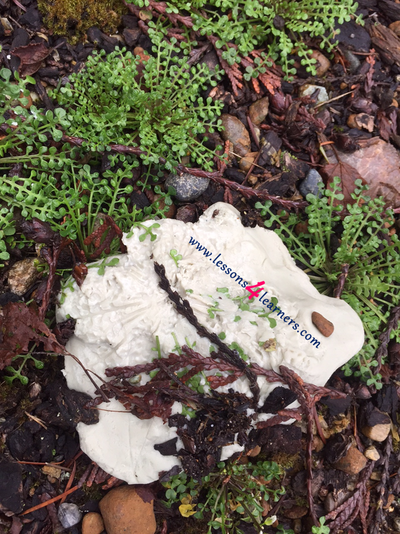
Playdough Nature Walk
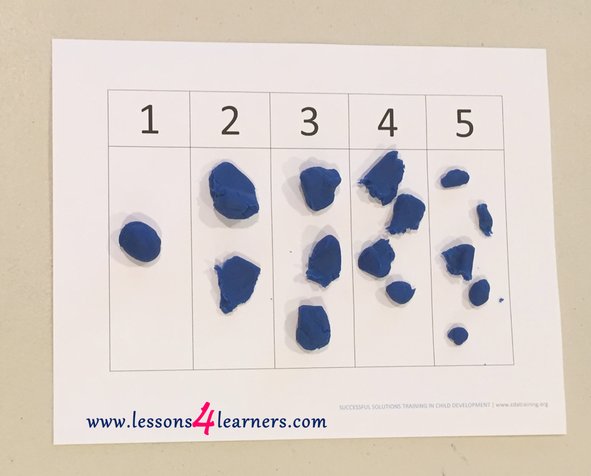
Playdough Math Mats
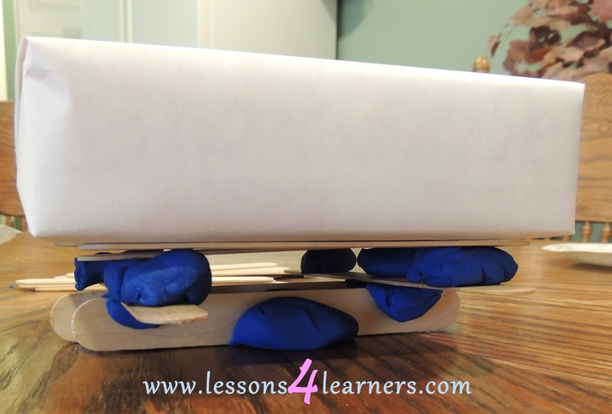
Playdough Engineering
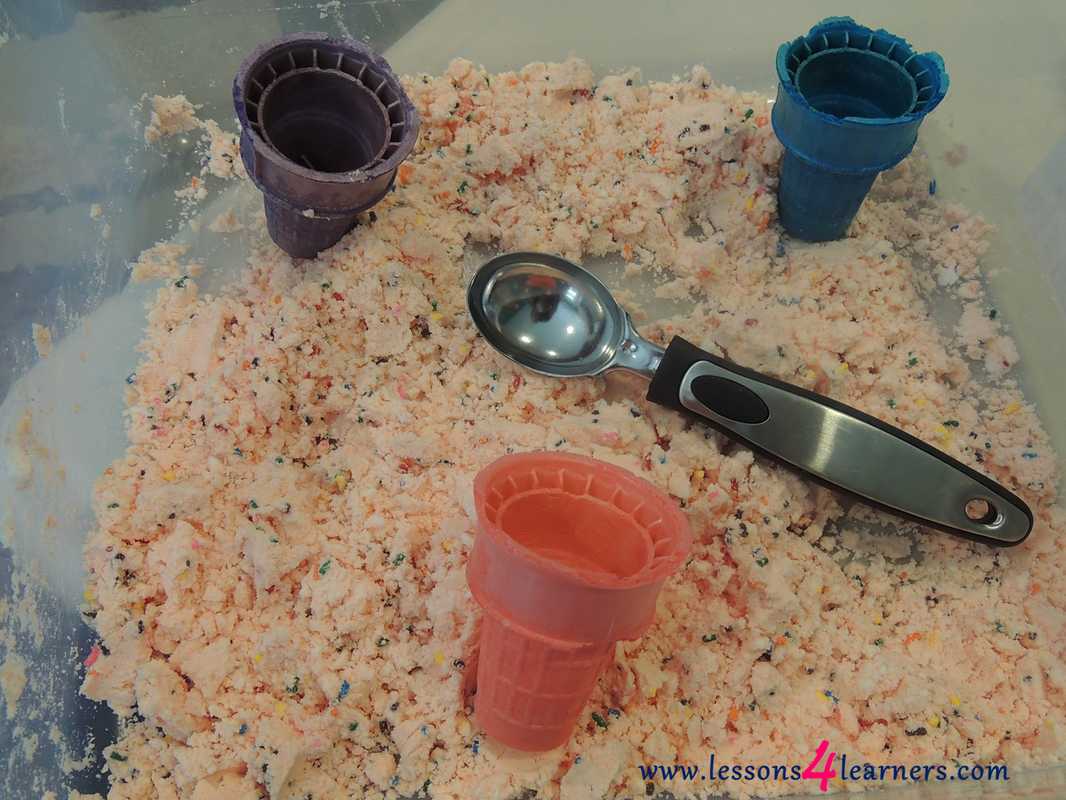
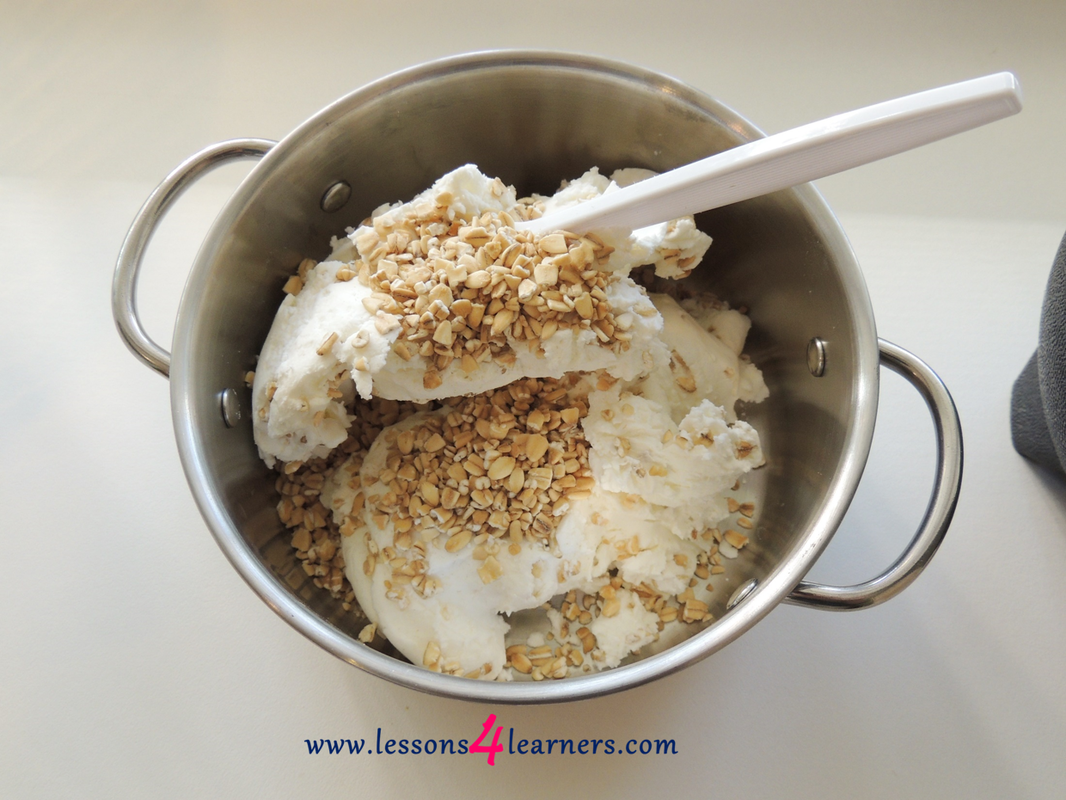
Ice Cream Dough
Mix 3 cups baking soda with 3 teaspoons conditioner. Add in a Kool-Aid package of your choice. Place the dough in a large bin along with ice cream cones, sprinkles, spoons and cups. Place bin in an appropriate area for children to explore and invite them to play. This is a great time to practice the names of colors with the child using the items in the bin.
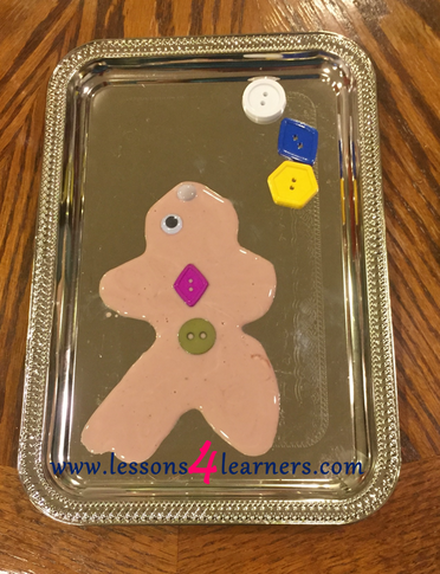
Gingerbread Playdough
Gingerbread Man Slime
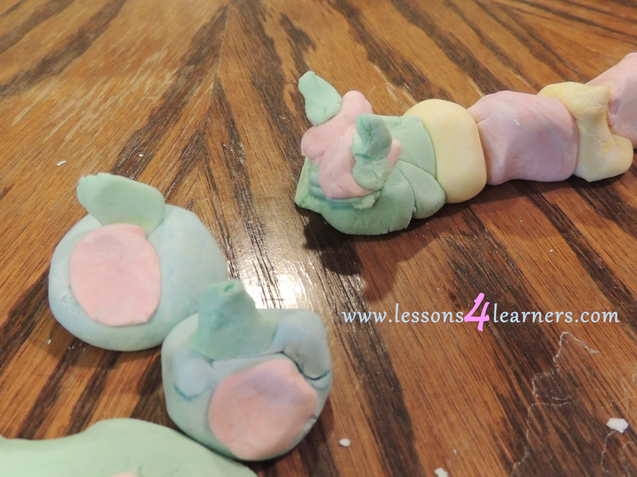
Coloring Dough
Give each child a lump of playdough and markers and encourage them to color and mold the dough. Point out the changes in the dough as children create and explore.
Baby Bags Slime Exploration
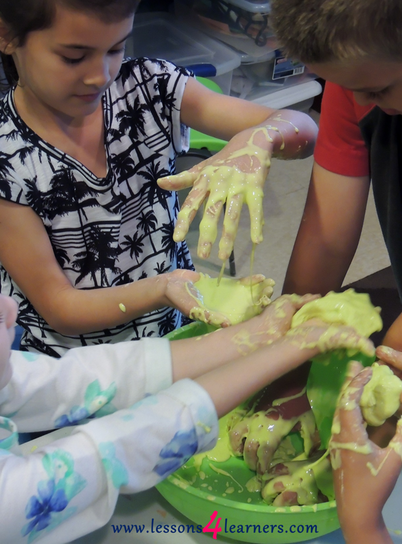
Sparkly Slime Recipe
Mix equal parts clear school glue, water and liquid starch along with several drops of food coloring and a few shakes of glitter. Combine well until it turns into slime.
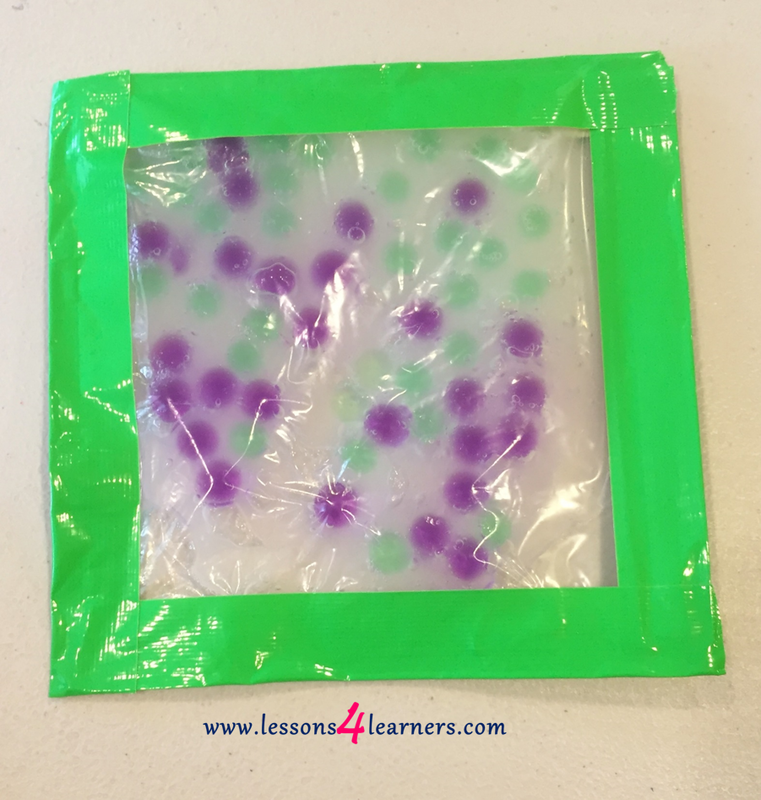
Caution: This sensory bag should be provided with supervision. Do not place the bag in a crib, or playpen.
Check the back for tears, or leaks each time before allowing the child to touch the bag. Don't allow the child to bite the bag.
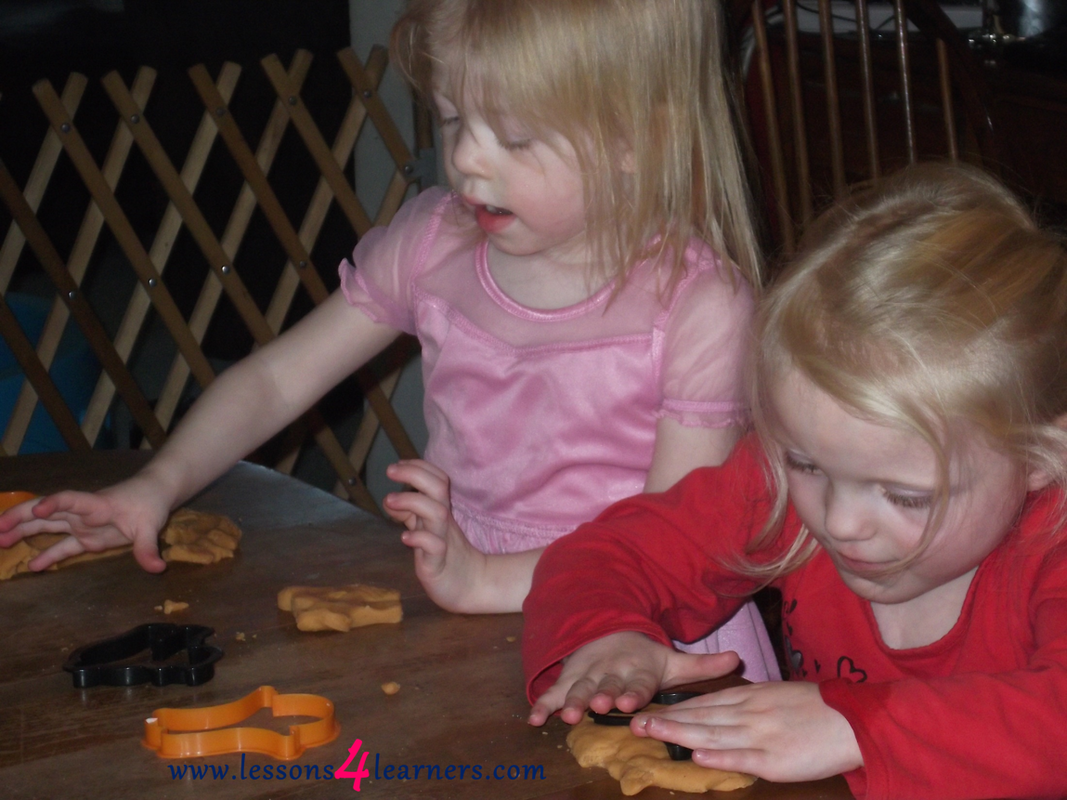
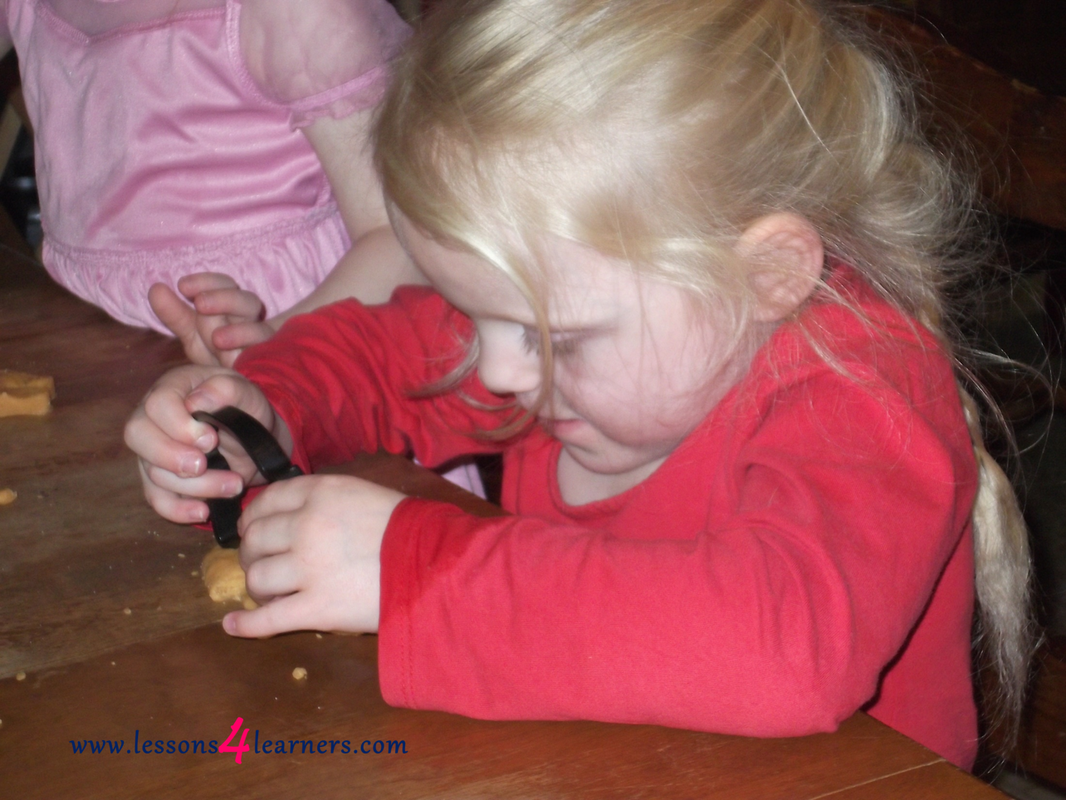
3 Bears Porridge Playdough
Provide the materials and encourage children to use the dramatic play materials to recreate the 3 Bears story by mixing and playing with the playdough.
3 Bears Dough Recipe
**Take precautions when preparing this recipe as it involves the use of hot water**
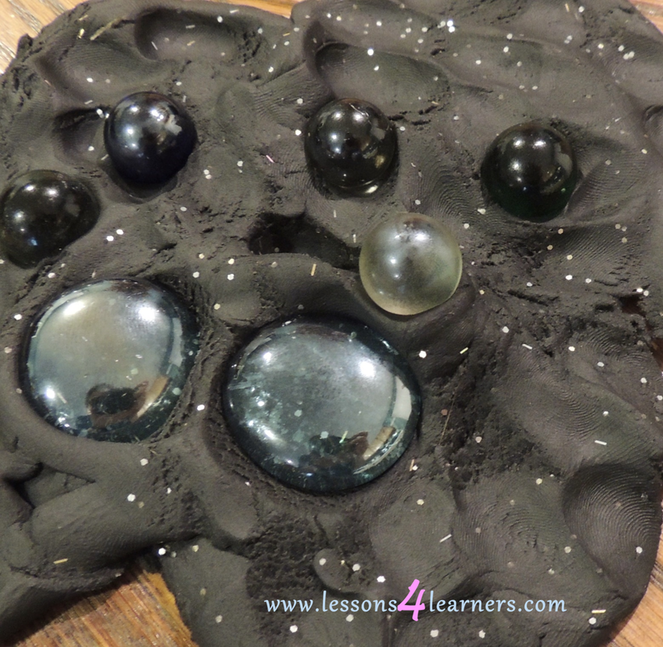
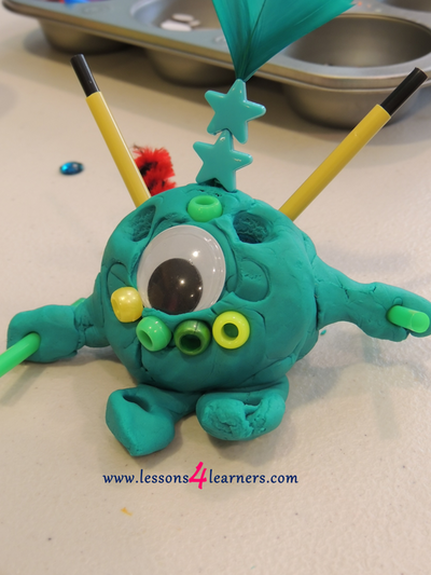
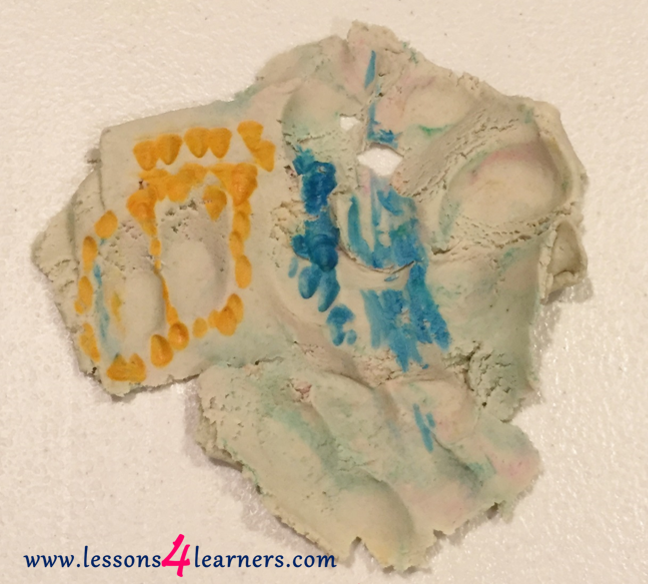
Starry Sky Playdough
Encourage children to add glitter to the black playdough and knead until combined. After glitter and playdough is combined add the additional materials for children to create their own starry sky. Give children ample time to explore and experience the materials.
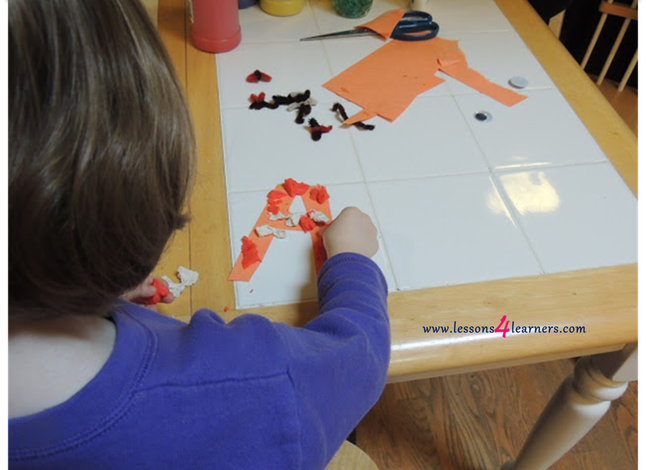
Play Dough Literacy
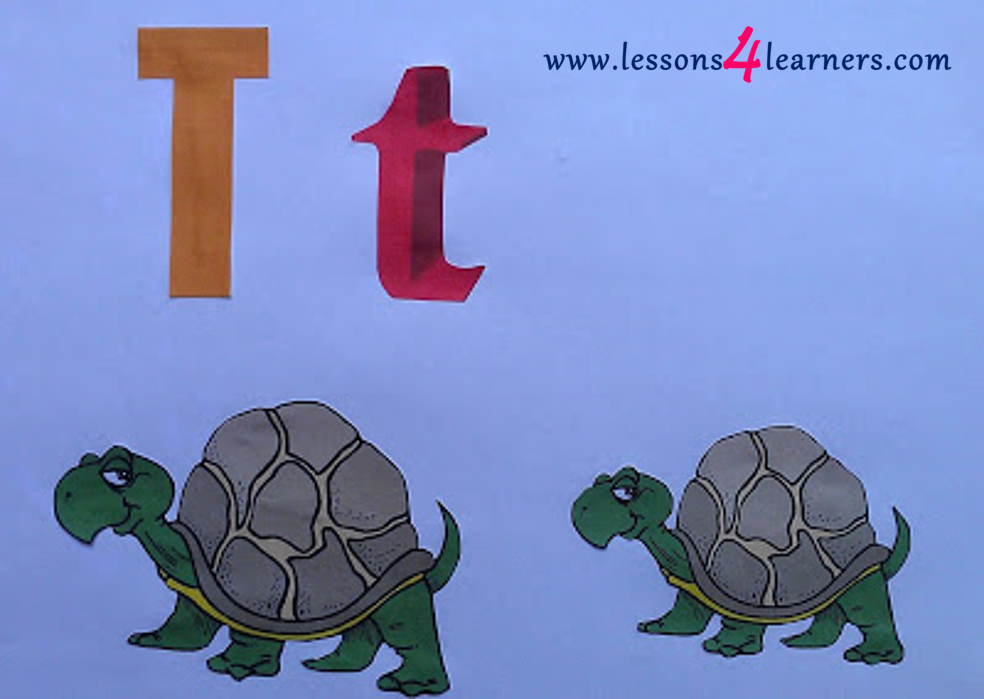
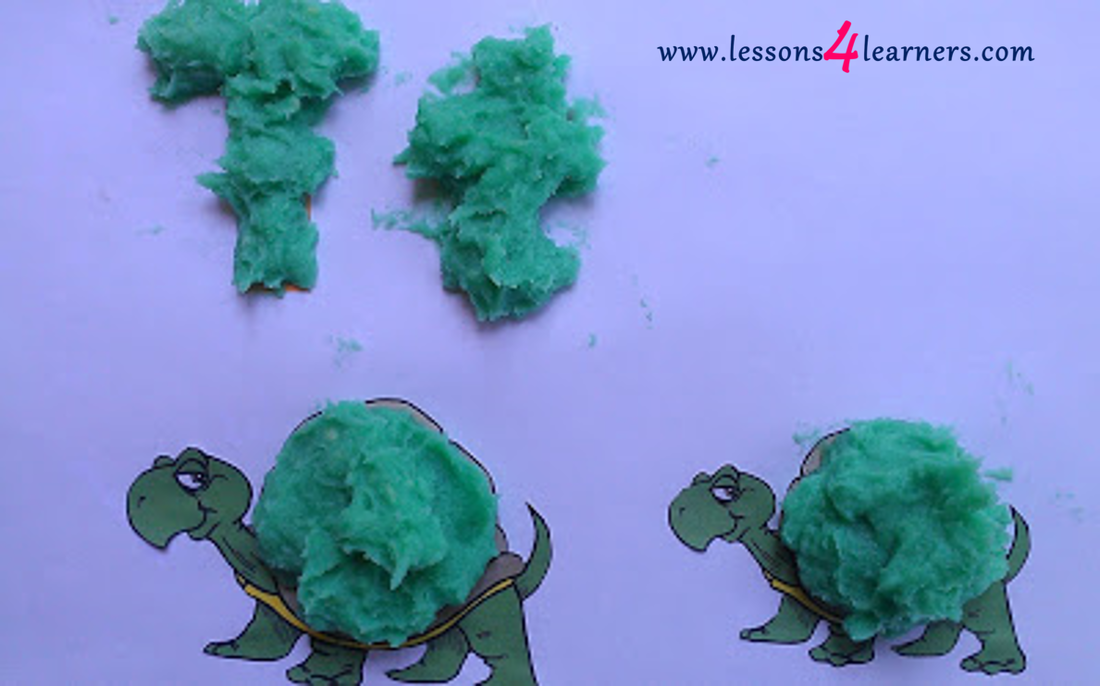
This simple project helps children learn the shapes of the letters. It will help them develop writing and reading skills. Working the play dough develops fine motor skills that will be used for writing as well as hand eye coordination. While they put the play dough onto the letter tell them the letter name and the sounds it makes. This will help them associate the sound of the letter with the shape giving them the skills they will need to sight read.
It is important to introduce literacy at an early age. You can do this by exposing them to print in multiple areas of their life, such as letter magnets, books, posters with words, and songs about letters.
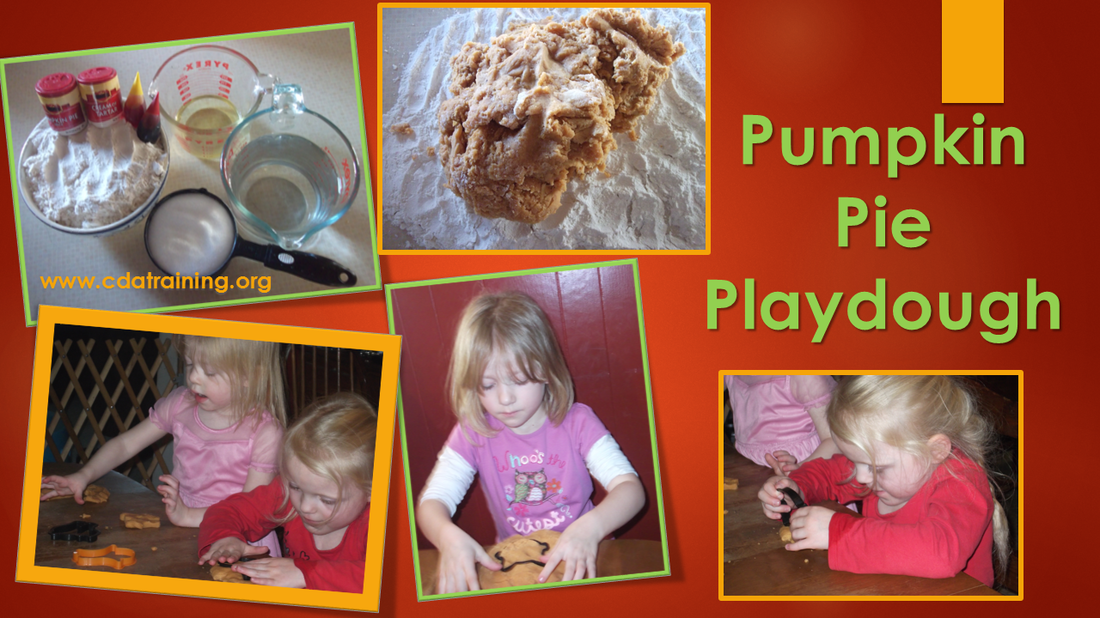
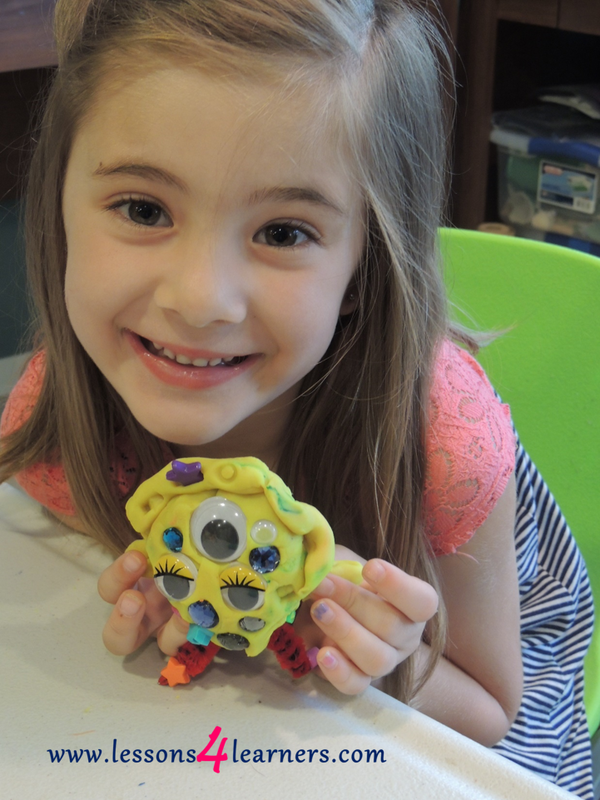
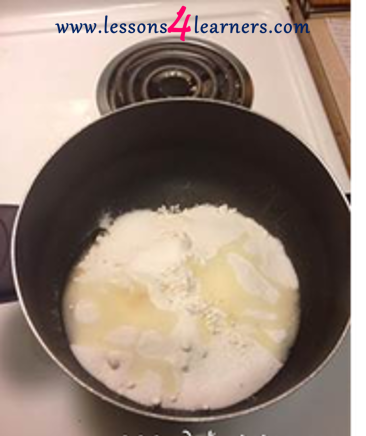
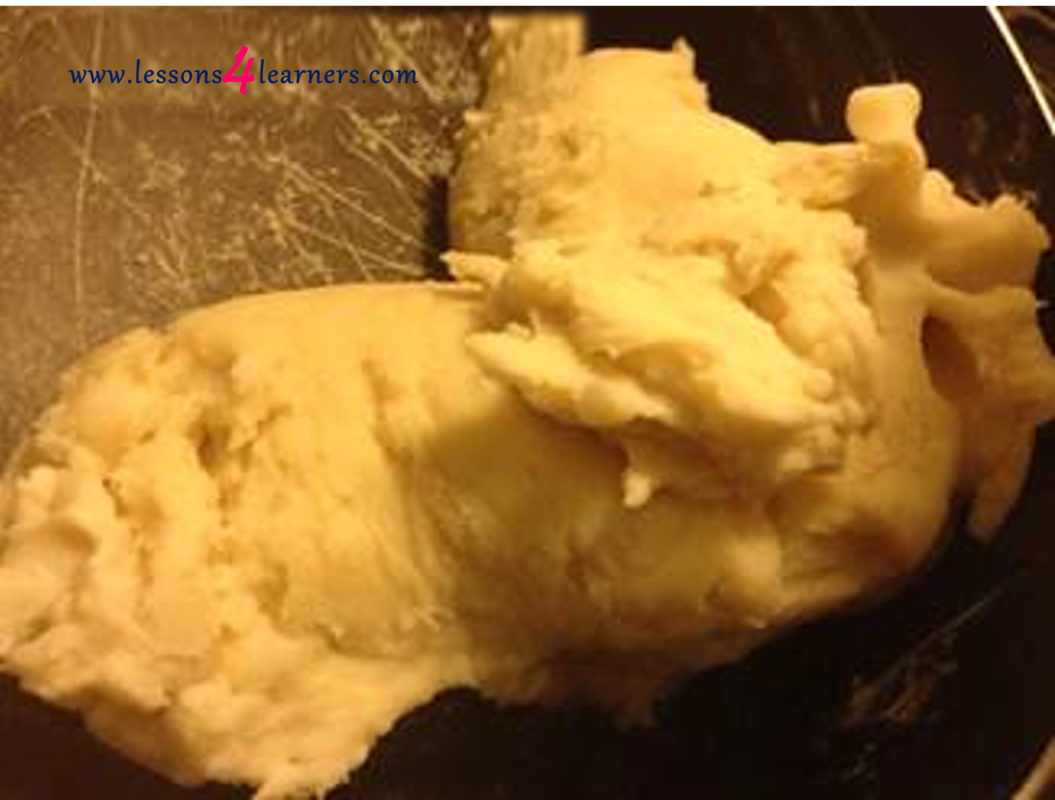
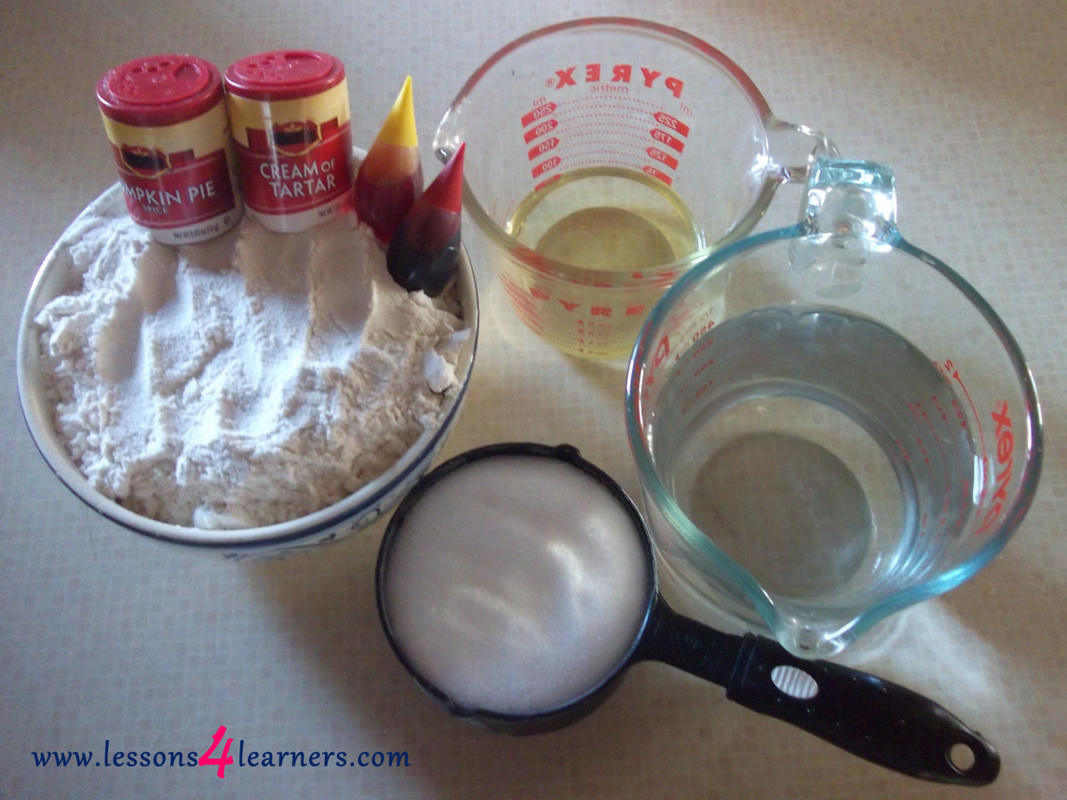
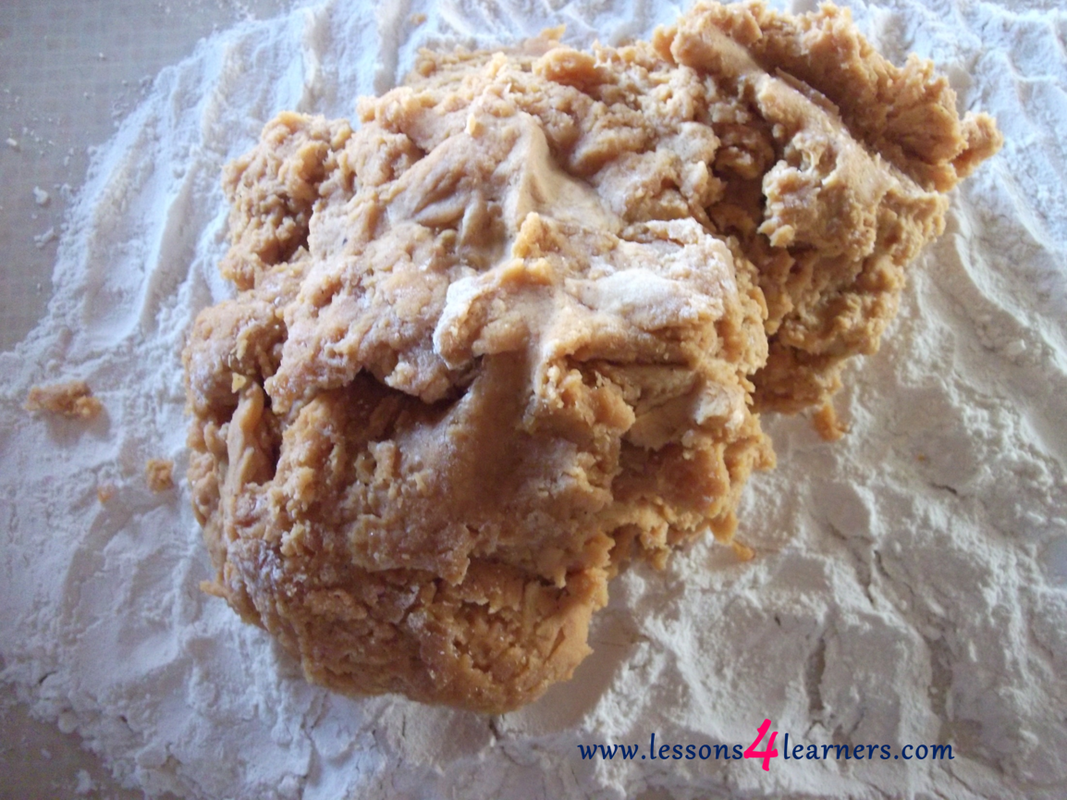
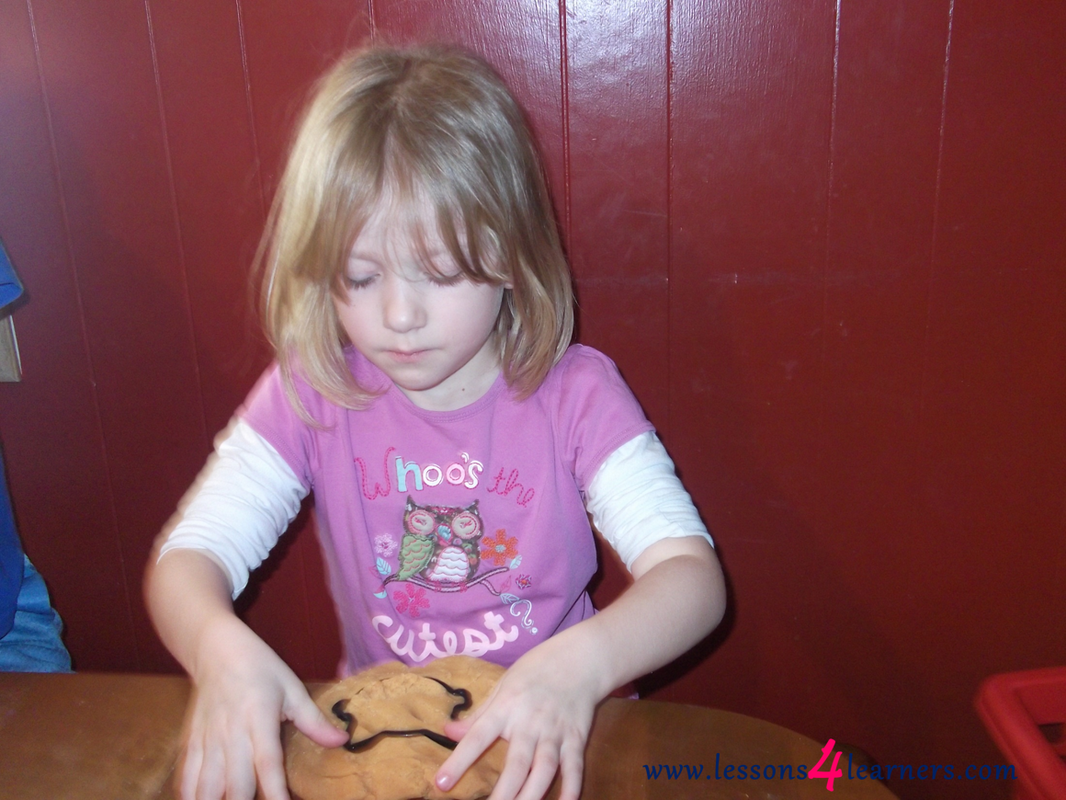
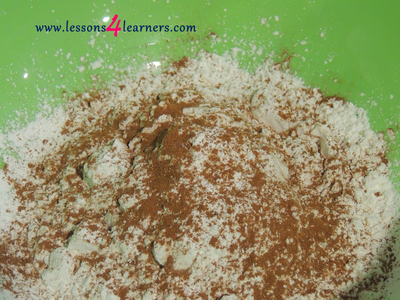
Pumpkin Pie Playdough
Supplies:
* This recipe makes a big batch of play-dough! We cut the recipe in half and had plenty
Instructions:
In the large pot add all ingredients and mix together. Cook over medium heat, stir until the mixture no longer has any lumps. Remove the dough from the pot and place on a well-floured surface. Knead the dough out until smooth. The dough can now be played with. When done playing with the dough, store it in an air tight container or sealable freezer bag.
Click on the photos to enlarge.
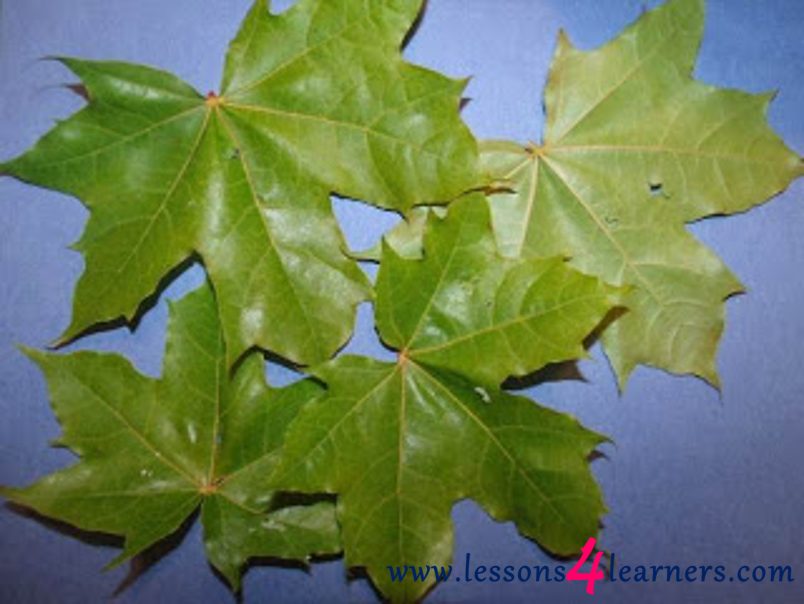
Hungry Playdough Caterpillar Retelling
This is a good way to incorporate sensory play and literacy. Print out some clip art photos and have the children mold the play dough around the turtle shells and letters.
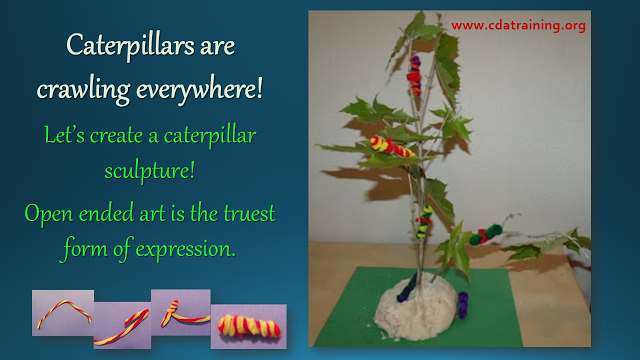
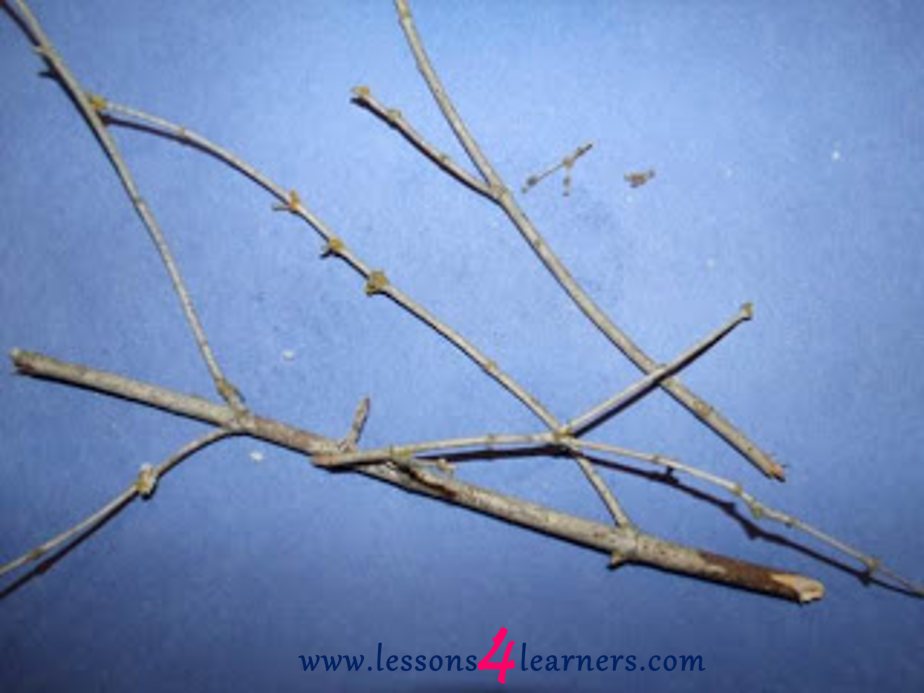
Caterpillars are crawling everywhere!
Materials needed:
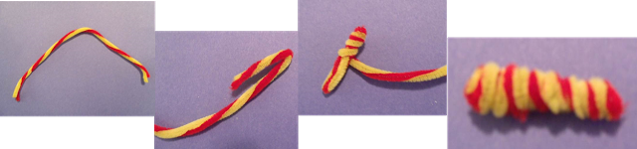
Making caterpillars:
First bend one end of the pipe cleaner over about 2 inches. (Older children will have fun doing this.) Wind the rest of the pipe cleaner around the length of the bent section. Tah Dah, a caterpillar! Alternative caterpillars: Cut 2 to 3 inch pieces of pipe cleaner. Let the children figure out how to wind the pipe cleaner around the stick themselves (and they will).
Instructions
Set-up: Display pictures of caterpillars on branches and leaves around the art table. Do not tell the children what they are making. Let them discover and design freely. Maybe put a jar of live caterpillars with twigs and leaves in the middle of the table. If you have seen caterpillars in the trees, go for a caterpillar hunt. Have the children place the play-dough on the plate in a clump where ever they want. Show the children how they can push the leaf over the stick at different heights, if they need instruction. Most children can figure this out themselves. Let the children use as many leaves and caterpillars as they feel are needed for their creation. If there is a limited supply, only set out the number allowed for each child, but give them several of each item. Use smaller pieces of pipe cleaner to attach caterpillars to the stick or glue on to leaves. When dry, if glue is used, let the children arrange the sticks in the play-do. Some children may want to put them in the play-dough, or glue them to the plate, that’s awesome. Let them create their own sculpture. 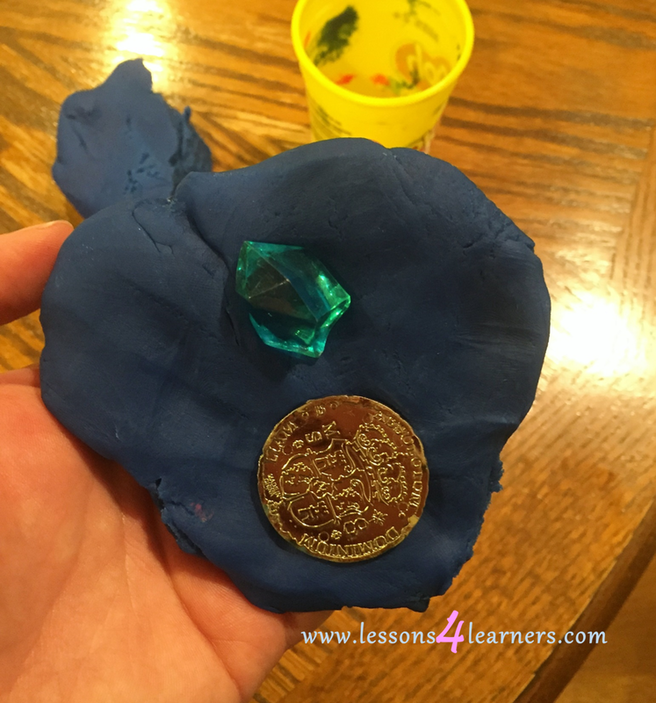
Toddler Treasure Hunt
Put several coins in a ball of playdough and encourage children to pinch and pull the playdough apart in order to find the coins hidden in the dough.
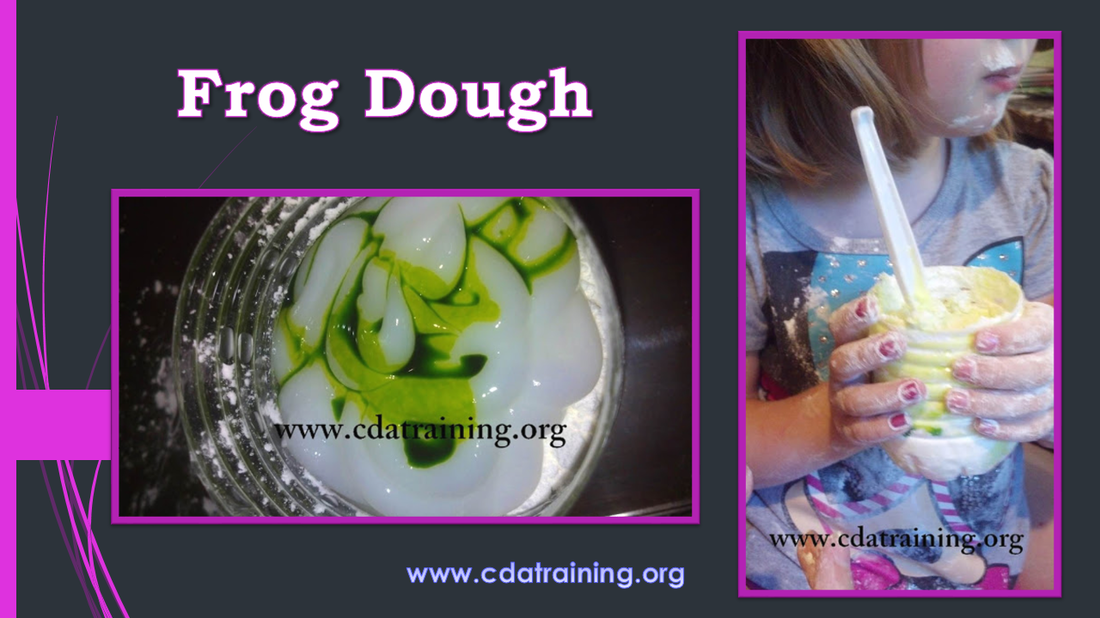
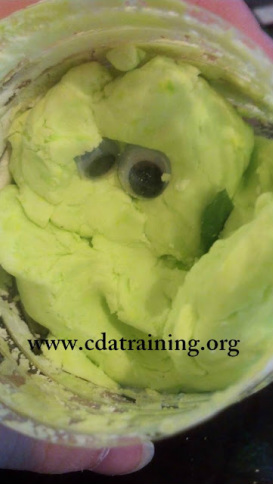
Frog Dough
|
AuthorMs. Brittney Andrade, MS Early Childhood Studies 
Playdough, slime, gak, flubber. Call it what you will, playdough and similar materials are a staple ingredient in programs everywhere. Having dough of some sort available to children gives them plenty of opportunities for creative open-ended sensory play.
ArchivesCategories3 Bears Porridge Playdough
Baby Bags Slime Exploration Coloring Dough Flower Garden Fun Gingerbread Man Slime Gingerbread Playdough Ice Cream Dough Playdough Engineering Playdough Impressions Playdough Math Mats Playdough Nature Walk Salt Dough Mitten Snow Dough (sensory bin) Starry Sky Playdough The Hungry Playdough Caterpillar Retelling Toddler Treasure Hunt Use Your Noodle Playdough Play |